How to Watercolor Animals for a Baby Room (or How to Do Art After Not Doing It for a Long Time)
My wife and I are expecting our second child in a few weeks! I haven’t updated this website for a long time, but you can guess this is one of the reasons why. This season of life is less art, website, video games, and reading; but it is way more lost socks, small spoons, playgrounds, and stuffed animals. I’m on a vacation (at home) this week and part of preparing for the new baby is decorating her room. My idea of watercoloring some pieces for her room ended up being satisfying so I wanted to share some reflections on this escapade. Doing something creative as a full time working physician with a two year old is challenging but rewarding!
How to Start Doing Art after Not Doing It For a Long Time!
I haven’t done anything artistic for months let alone watercolored something for years. Picking art back up can be intimidating but the game-changing breakthrough is this: YouTube. One can learn anything on YouTube and one can learn it quickly. Over the past few years I recall learning about houseplants, tire purchasing, raising toddlers, jazz chords, various video games; why not relearn how to watercolor?
Watching someone do/teach you something can be more high-yield and efficient than reading a blog post or article online. Here are a few high-yield tips for watercoloring that I learned from watching these videos:
- Controlling water is the name of the game. You can add too much or too little water to your pigment. Your brush can hold too much or too little water. The paper could have too little or too much water. I’ve learned to use a paper napkin to soak up water from the brush before I use it on the paper. A related tip is to use a “scratch” watercolor paper to see what you stroke, pigment, water content looks like before you put it on your real work. Use a second “clean” brush to “lift” or pick up pigment. Learn to “push” pigment around with a brush. You can use something like toilet paper to also lift pigment from the paper itself.
- Buckling of paper can easily be avoided. If you use 300 GSM watercolor paper and if you be intentional about not using too much water, you may not need to presoak your watercolor paper. Online you’ll find many people doing this but it’s time consuming and not practical for me. I use masking tape on the edges and paint lighter pieces so I didn’t have a problem with buckling.
- Avoid overcooking by planning. Having a plan for your layers, colors, and sections prevents areas that are “overworked” or muddy. I had so many instances where I didn’t have a clear plan for that section of the artwork and ended up putting many layers over haphazardly and thus causing the pigment to lie on unevenly or poorly. Avoid this by identifying areas that need more time to sketch/plan prior or realizing you need to take another second to make a plan before it gets worse.
- Avoid redoing light or middle layers by painting a portion of the darkest layer near the beginning (aka pay attention to middle values). Watercoloring generally requires you to lay washes and the lightest areas first and then proceed to add darker and darker layers. The problem for beginners like me is that once you lay the darkest parts, your eyes realize that some of the earlier layers are not dark enough. It’s that optical illusion of your eyes where things adjust according to the new interpretation of the “whole.” Example here. A way to prevent this is to lay down some light gradients/washes first and then go to something like the eyes where you know it needs to be very dark and can be done early on. It will then help you add the middle layers in the correct light/dark (values) spectrum. Thought process here (not about watercoloring, but still good). It’s hard but possible to fix a middle layers so it’s best to prevent the problem from happening.
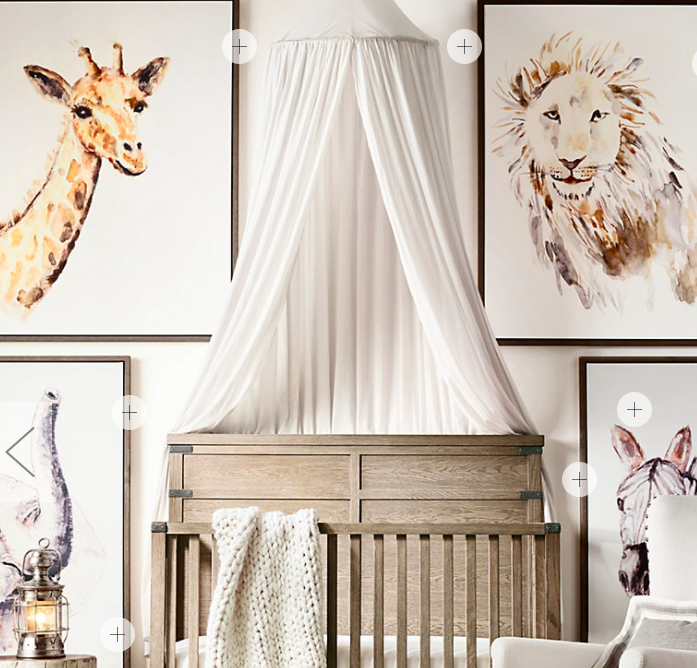
- Multiple smaller scope projects are more efficient to relearn art. A large 24 hour+ piece is too intimidating to start. I found some inspiration of baby room artwork from the Restoration Hardware website and knew that it was doable to work a watercolor piece similar to those examples in limited time— I wanted something I could do in one morning or afternoon. By the 6th piece I liked how each piece started to only take 1-1.5 hours max. If you are restarting to do art as an adult, small iterations are more important than big, epic pieces because you need to learn how to start and finish a piece. Kind of like gaming: gameplay can differ in the beginning, middle, and in the end-game content— meaning the play style and content of the game changes as your move on. Outlining and planning is so important in the beginning, working through problems is middle game, and the end game is putting on the finishing details to pop it into 3D and make that pizazz.
Helpful YouTube Links to Help You Paint Today (Not Tomorrow!)
- In the beginning, smaller projects teach you faster than epic projects
- Best tips for beginners
- Learn basic techniques like wet on wet and wet on dry
- Common mistakes video
- Learn to make gradients via clouds exercise
- A wet on dry gradient technique (30 seconds)
- Don’t overwork the painting
- Remember the fundamentals: constantly reassess your values
- Picking a color palette is incredibly important. Start off with a traditional ratio.
- Adobe palette picker and color wheel (not a youtube link but so helpful if you are using your own colors!)
- How to make colors vibrate
- Watch time lapses like this to quickly learn the pace and logic (beginning, middle, and end game), also a good example of meticulous planning and bravery (green on skin!)
Making Art is also Partly Managing Your Emotions
I’m older now and more aware of my emotions, so as I was watercoloring, I was noticing a huge range of emotions that one goes through when making art. For example, you may be working on a piece and it’s starting to not look good so you start to question in your brain if it’s worth it to continue. Should I give up and restart? Should I push through? I had times where I was questioning if this was a good idea at all or maybe I should move to acrylic which I was more familiar with. There were feelings of anger or frustration with mistakes. There was shame and guilt if I made a choice and the repercussions were real and persistent in the downstream. Sometimes I was impatient with waiting for parts of it to dry and I was anxious to skip tedious parts. Elation if a a piece at the end worked out, confusion and ambivalence with ones that didn’t look good, excitement and achievement when puzzling parts were solved, bravery at times fear of the unknown was surmounted. Watercoloring is intense!
Part of what made me aware of the emotional aspect of watercoloring was hearing the narration of artists as they overlaid their thoughts while you watch them work. I can’t overstate how essential it is to watch these parts because it reveals so much about the process of art. Three videos are poignant examples:
- This artist goes through 6 small pieces and you get to hear the challenges and mistakes she learned from
- This artist almost gave up but pulled through
- This artist had to use advanced techniques and brute force to solve some challenging problems that came up
Inspiration
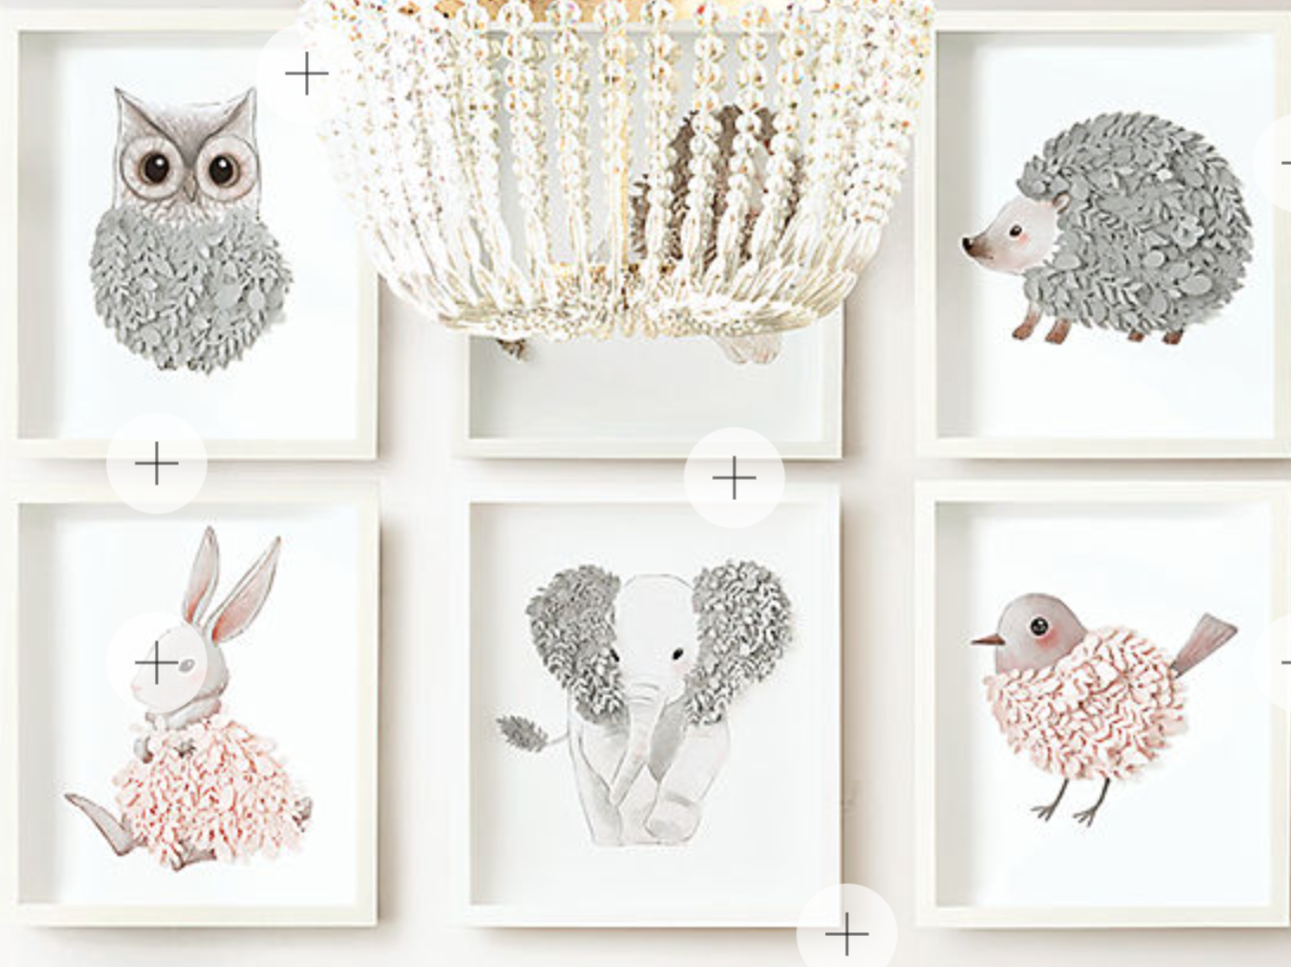
I needed inspiration so looked at some personal art books, instagram, and online websites for ideas. Settled on RH’s website:

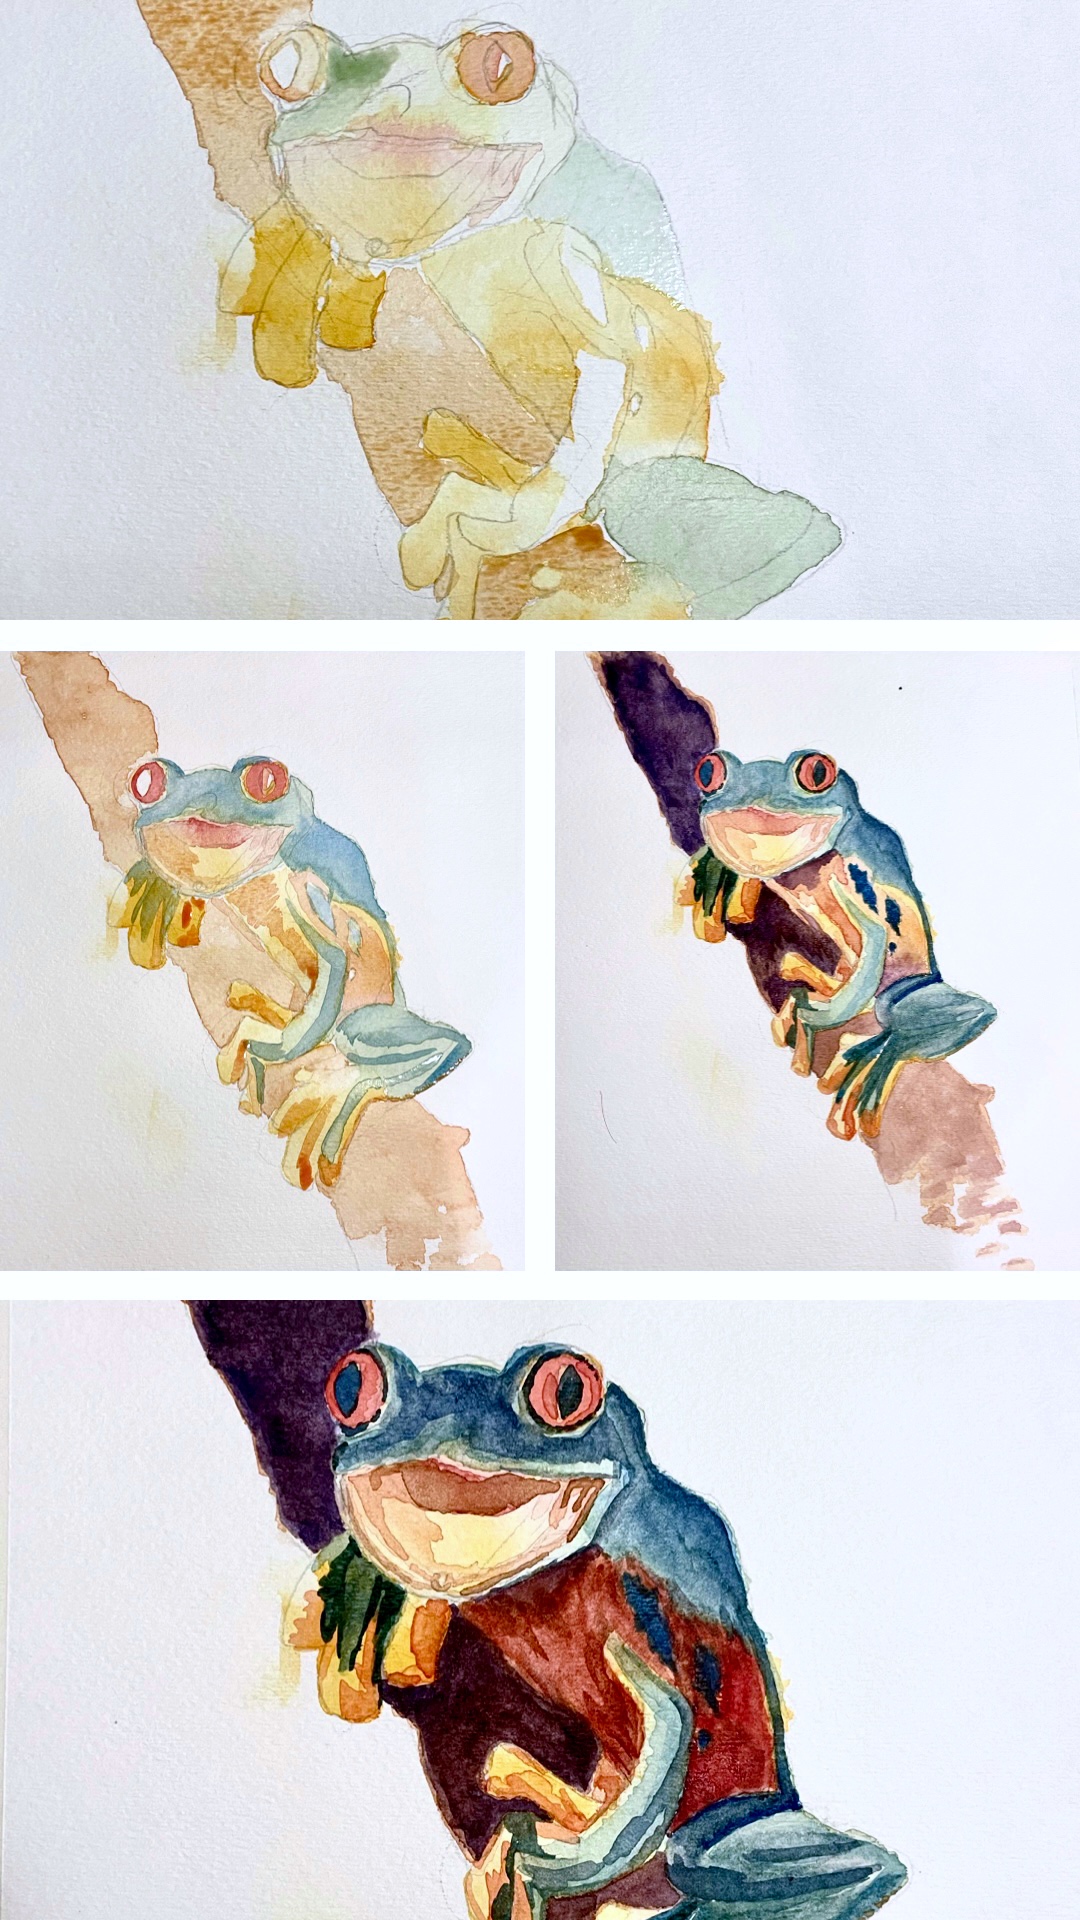
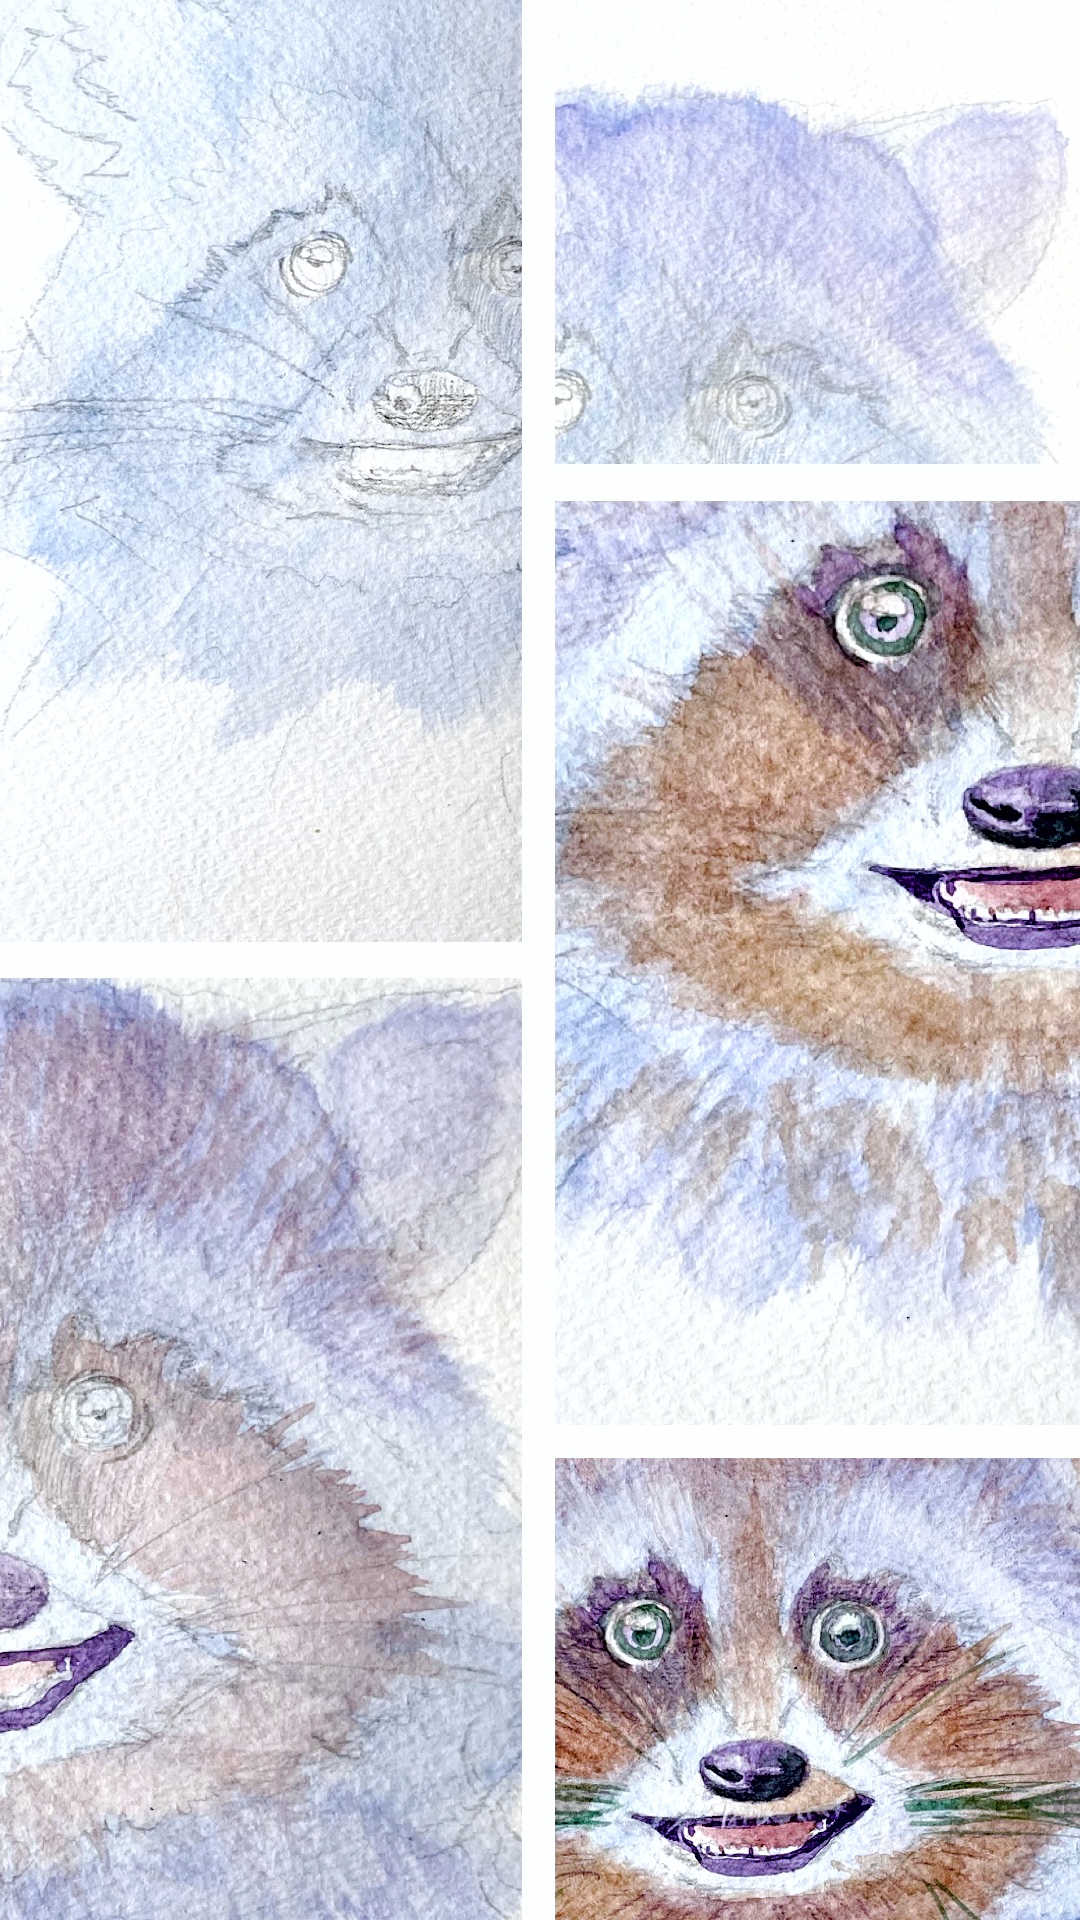
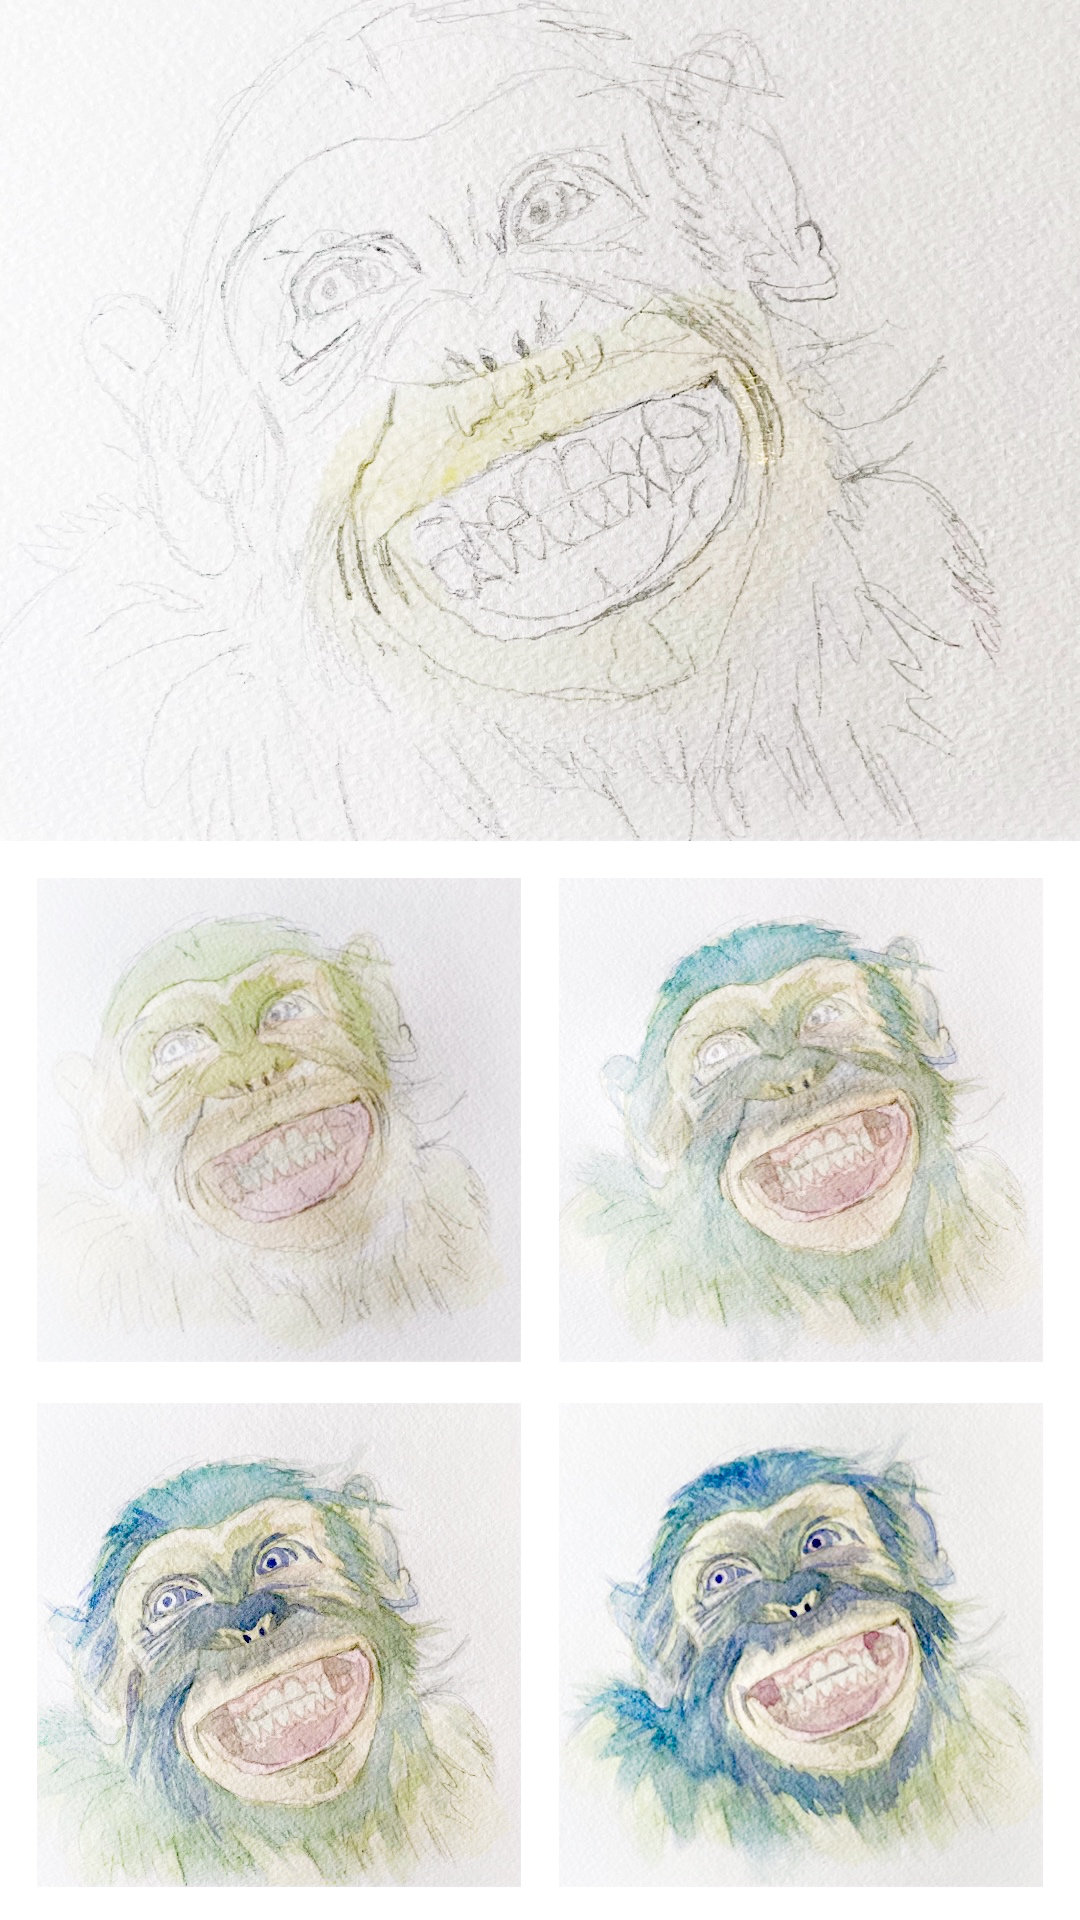
BTS
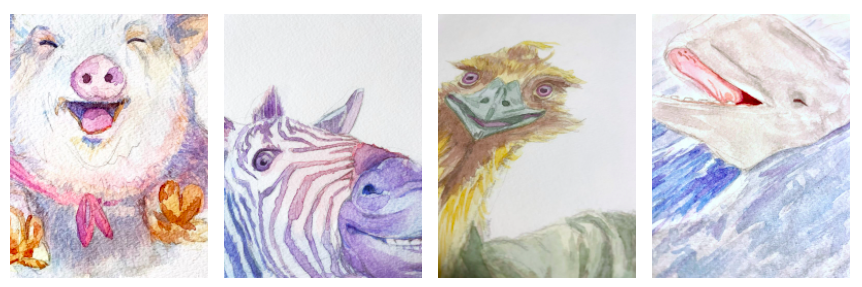
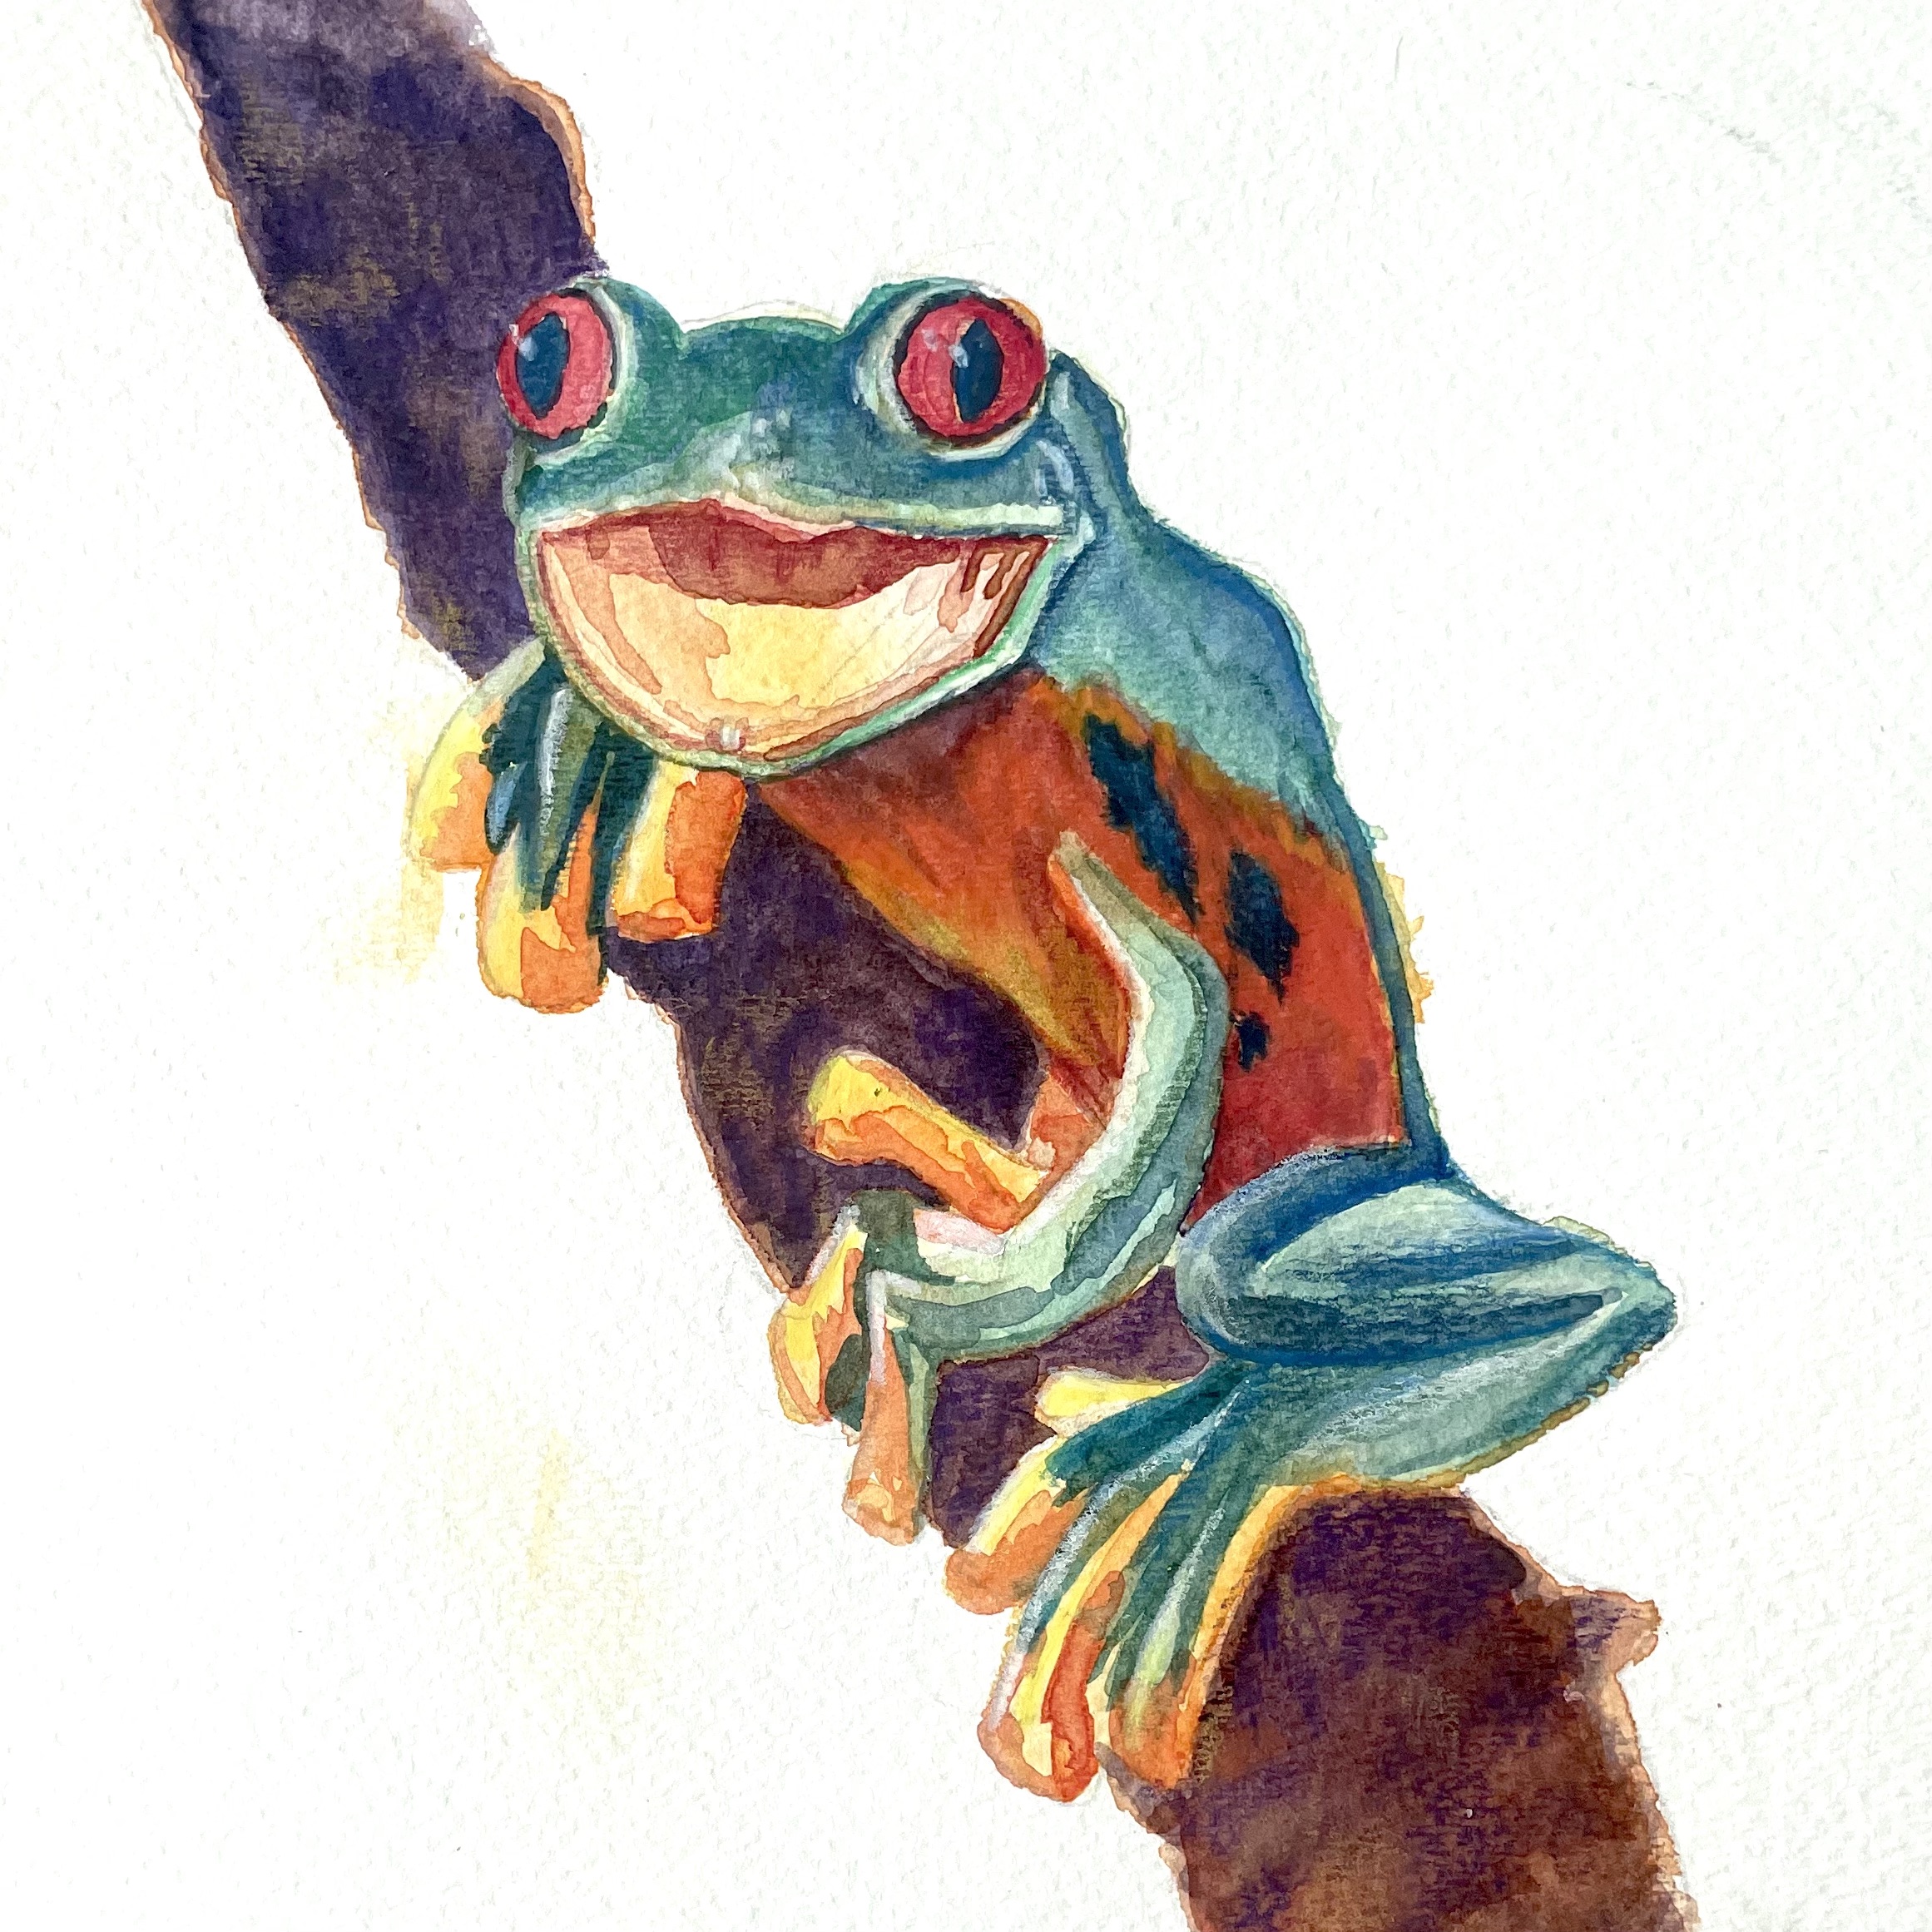
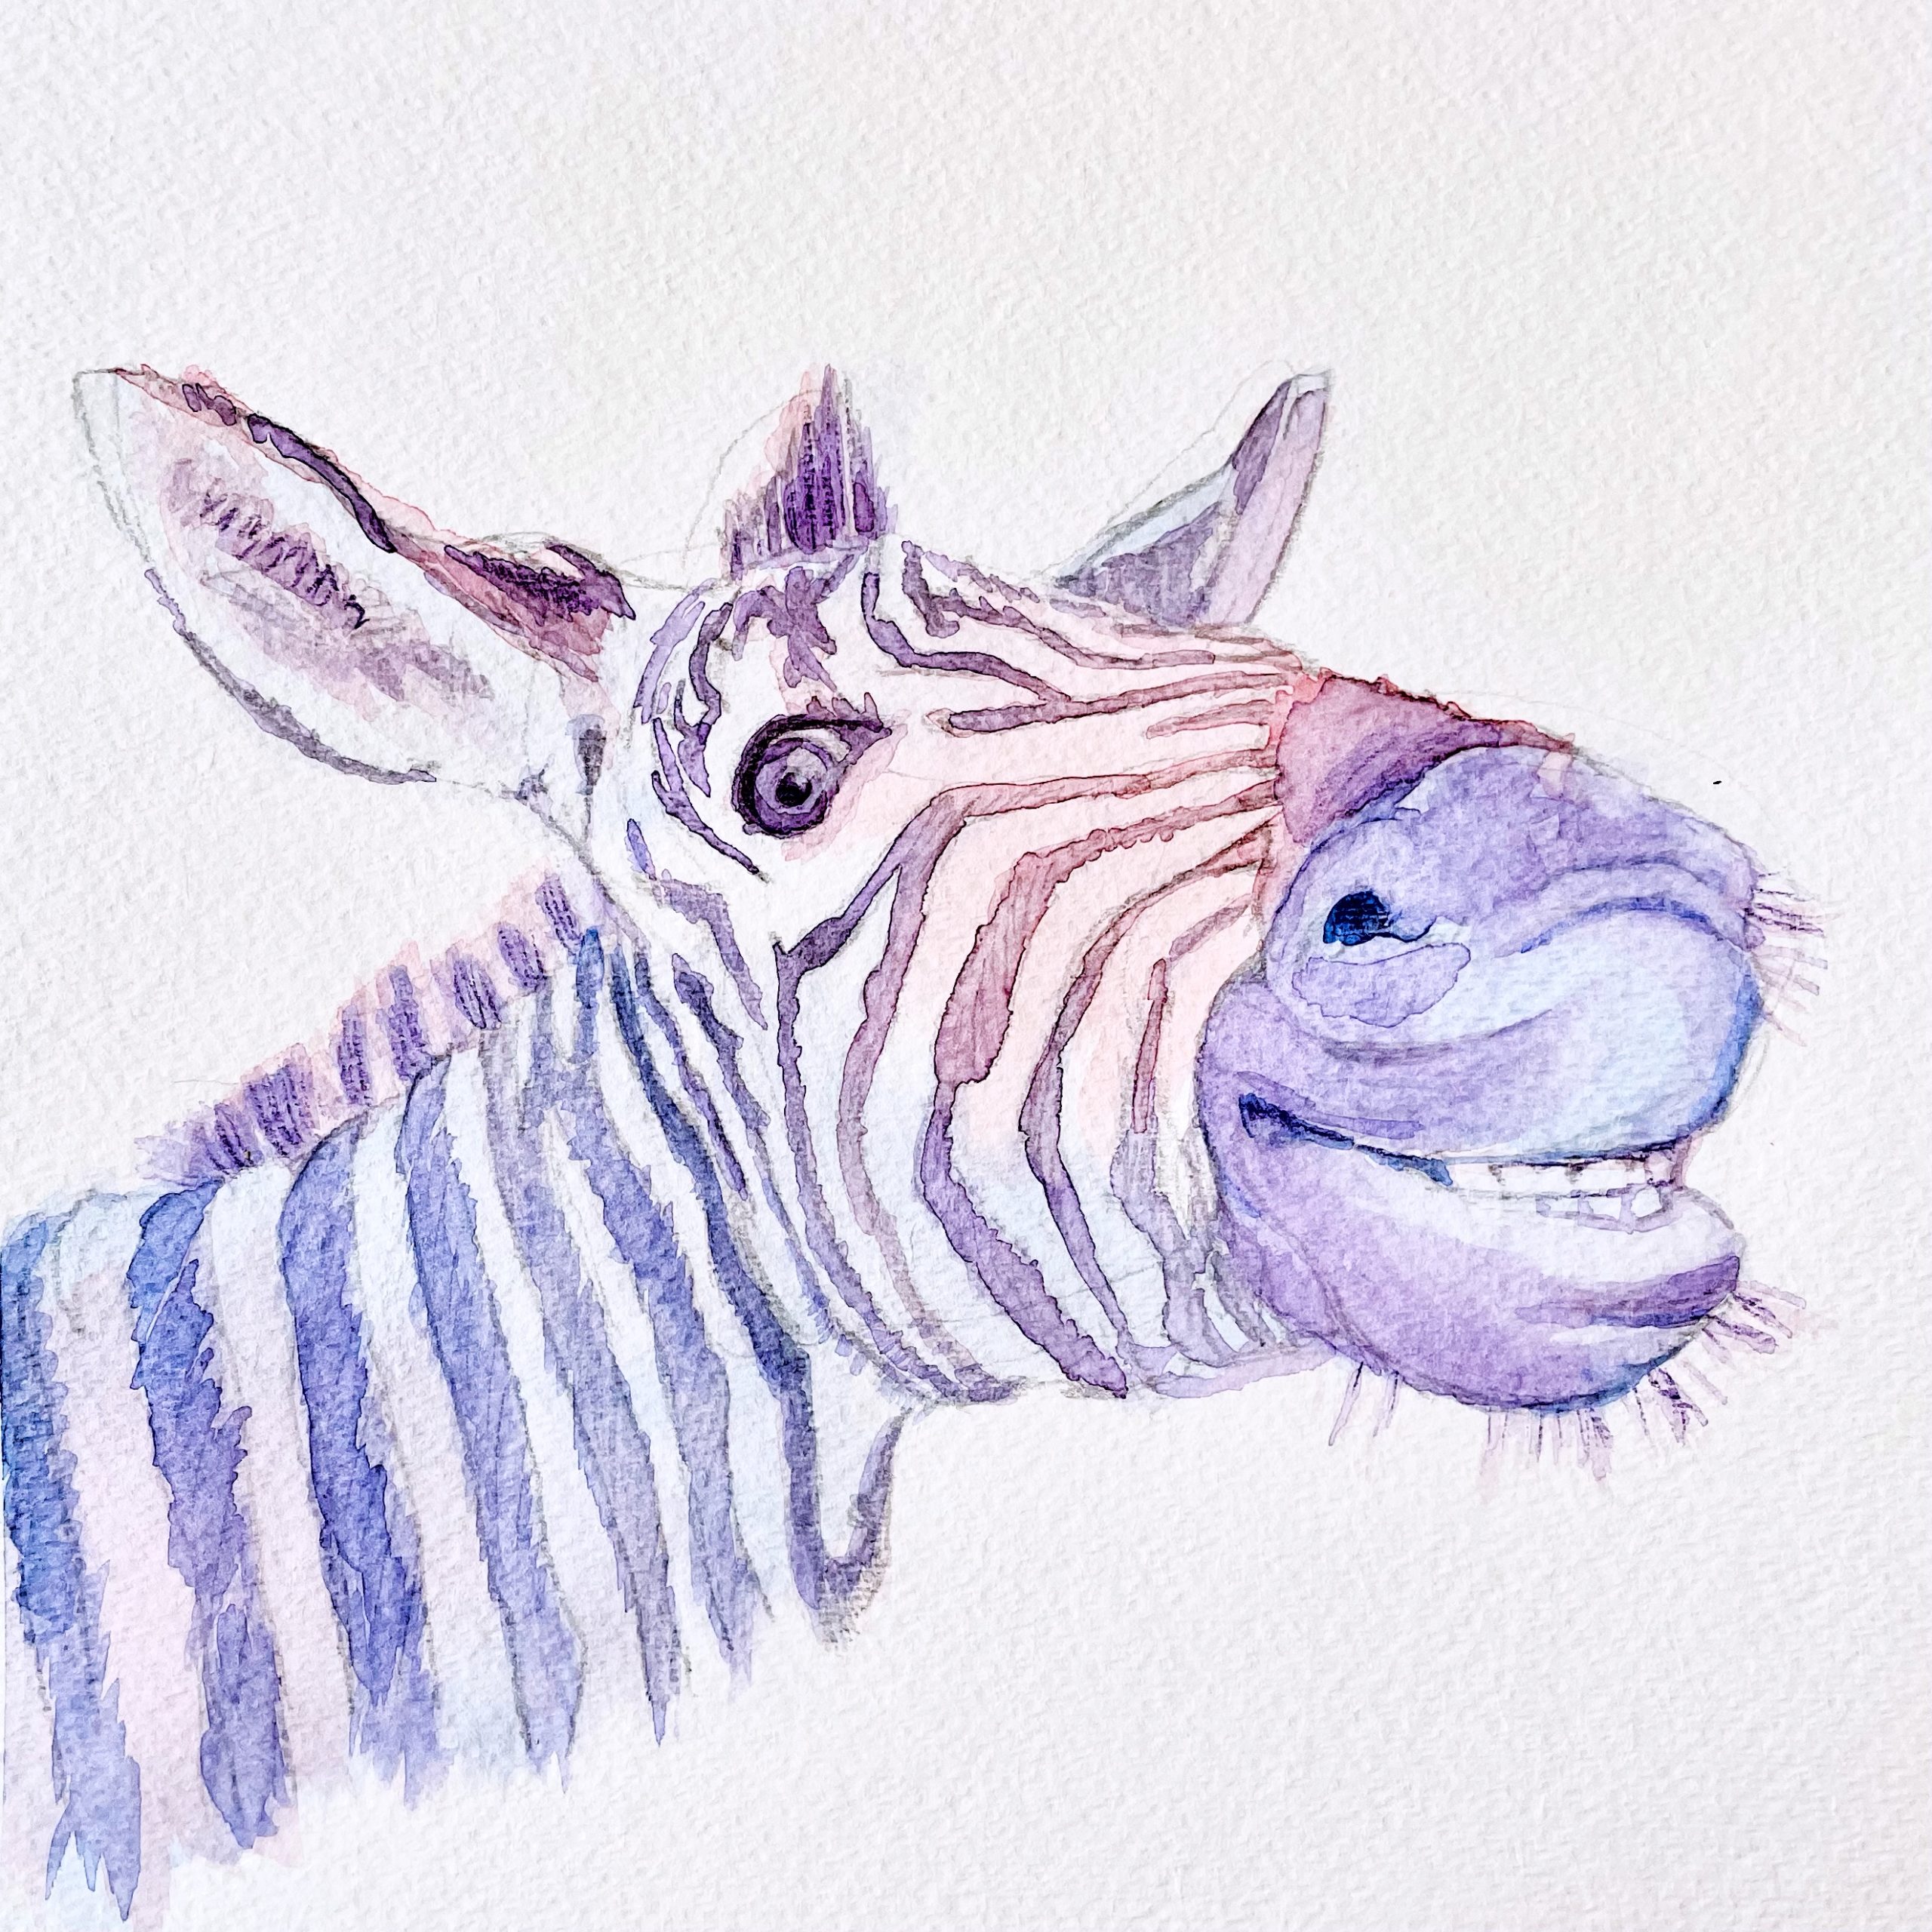
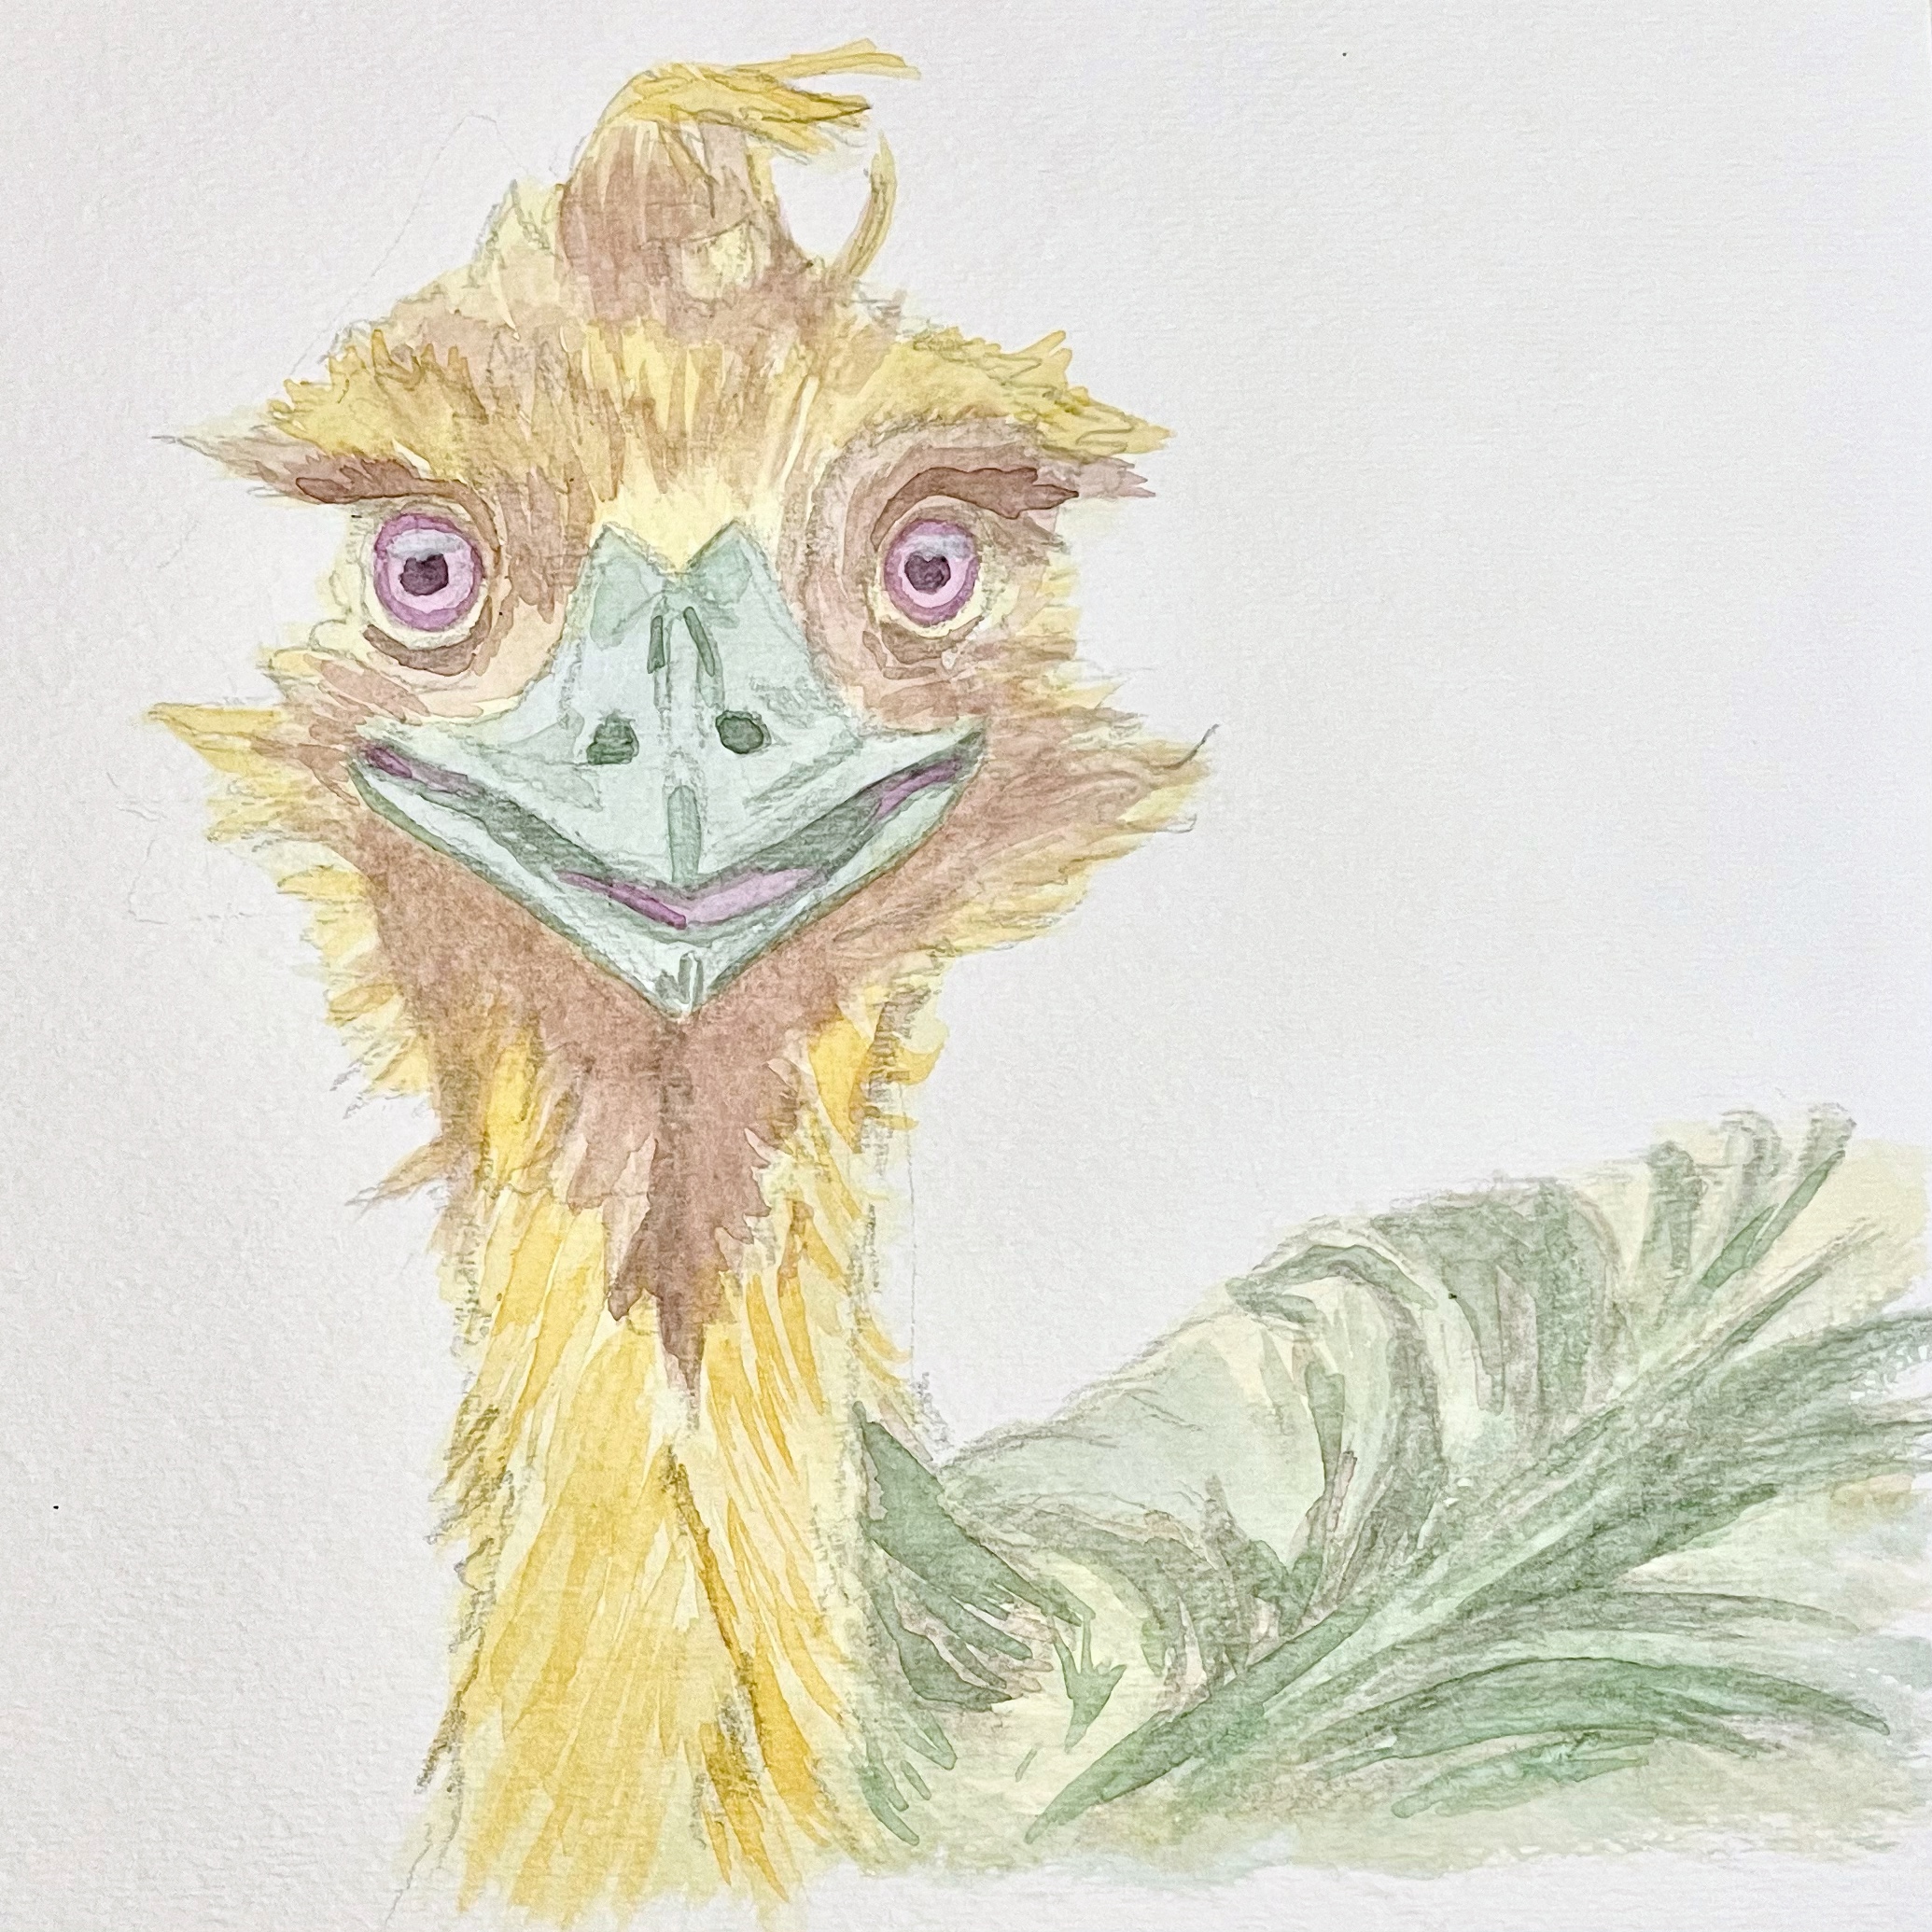
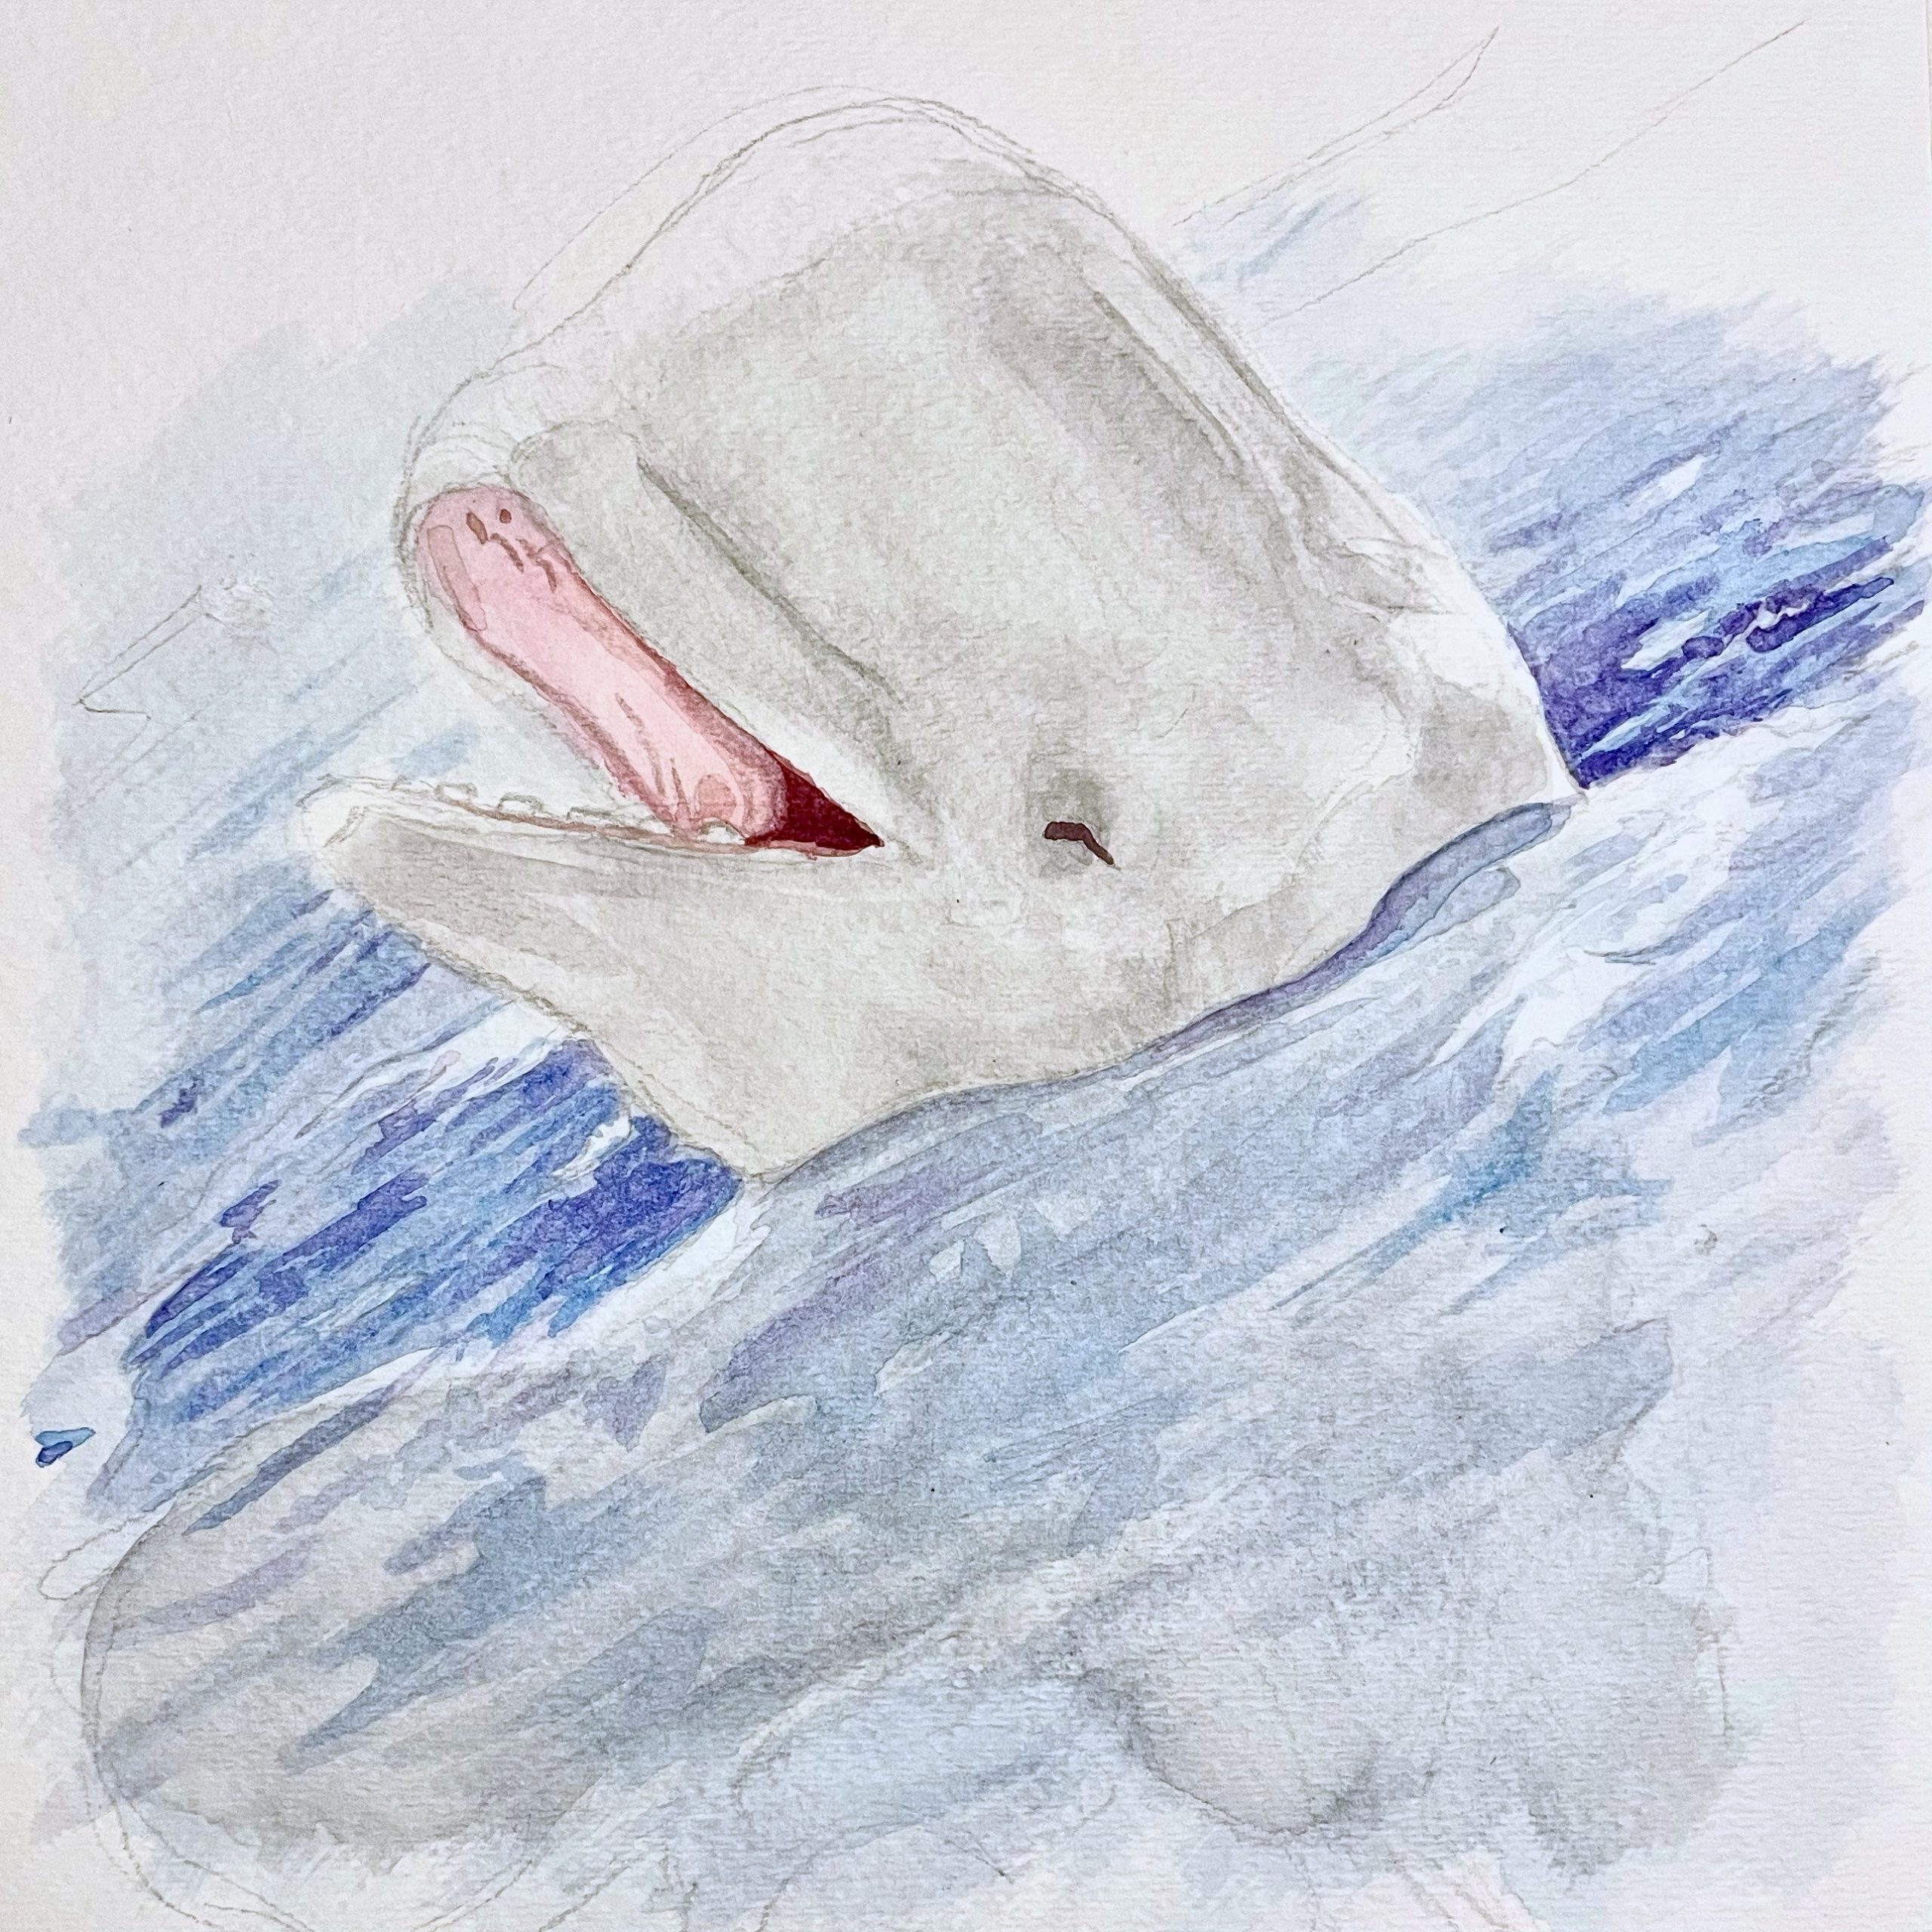
So I searched on google images for animal photos and settled on animals that are laughing or smiling. Here are some behind-the-scenes photos:
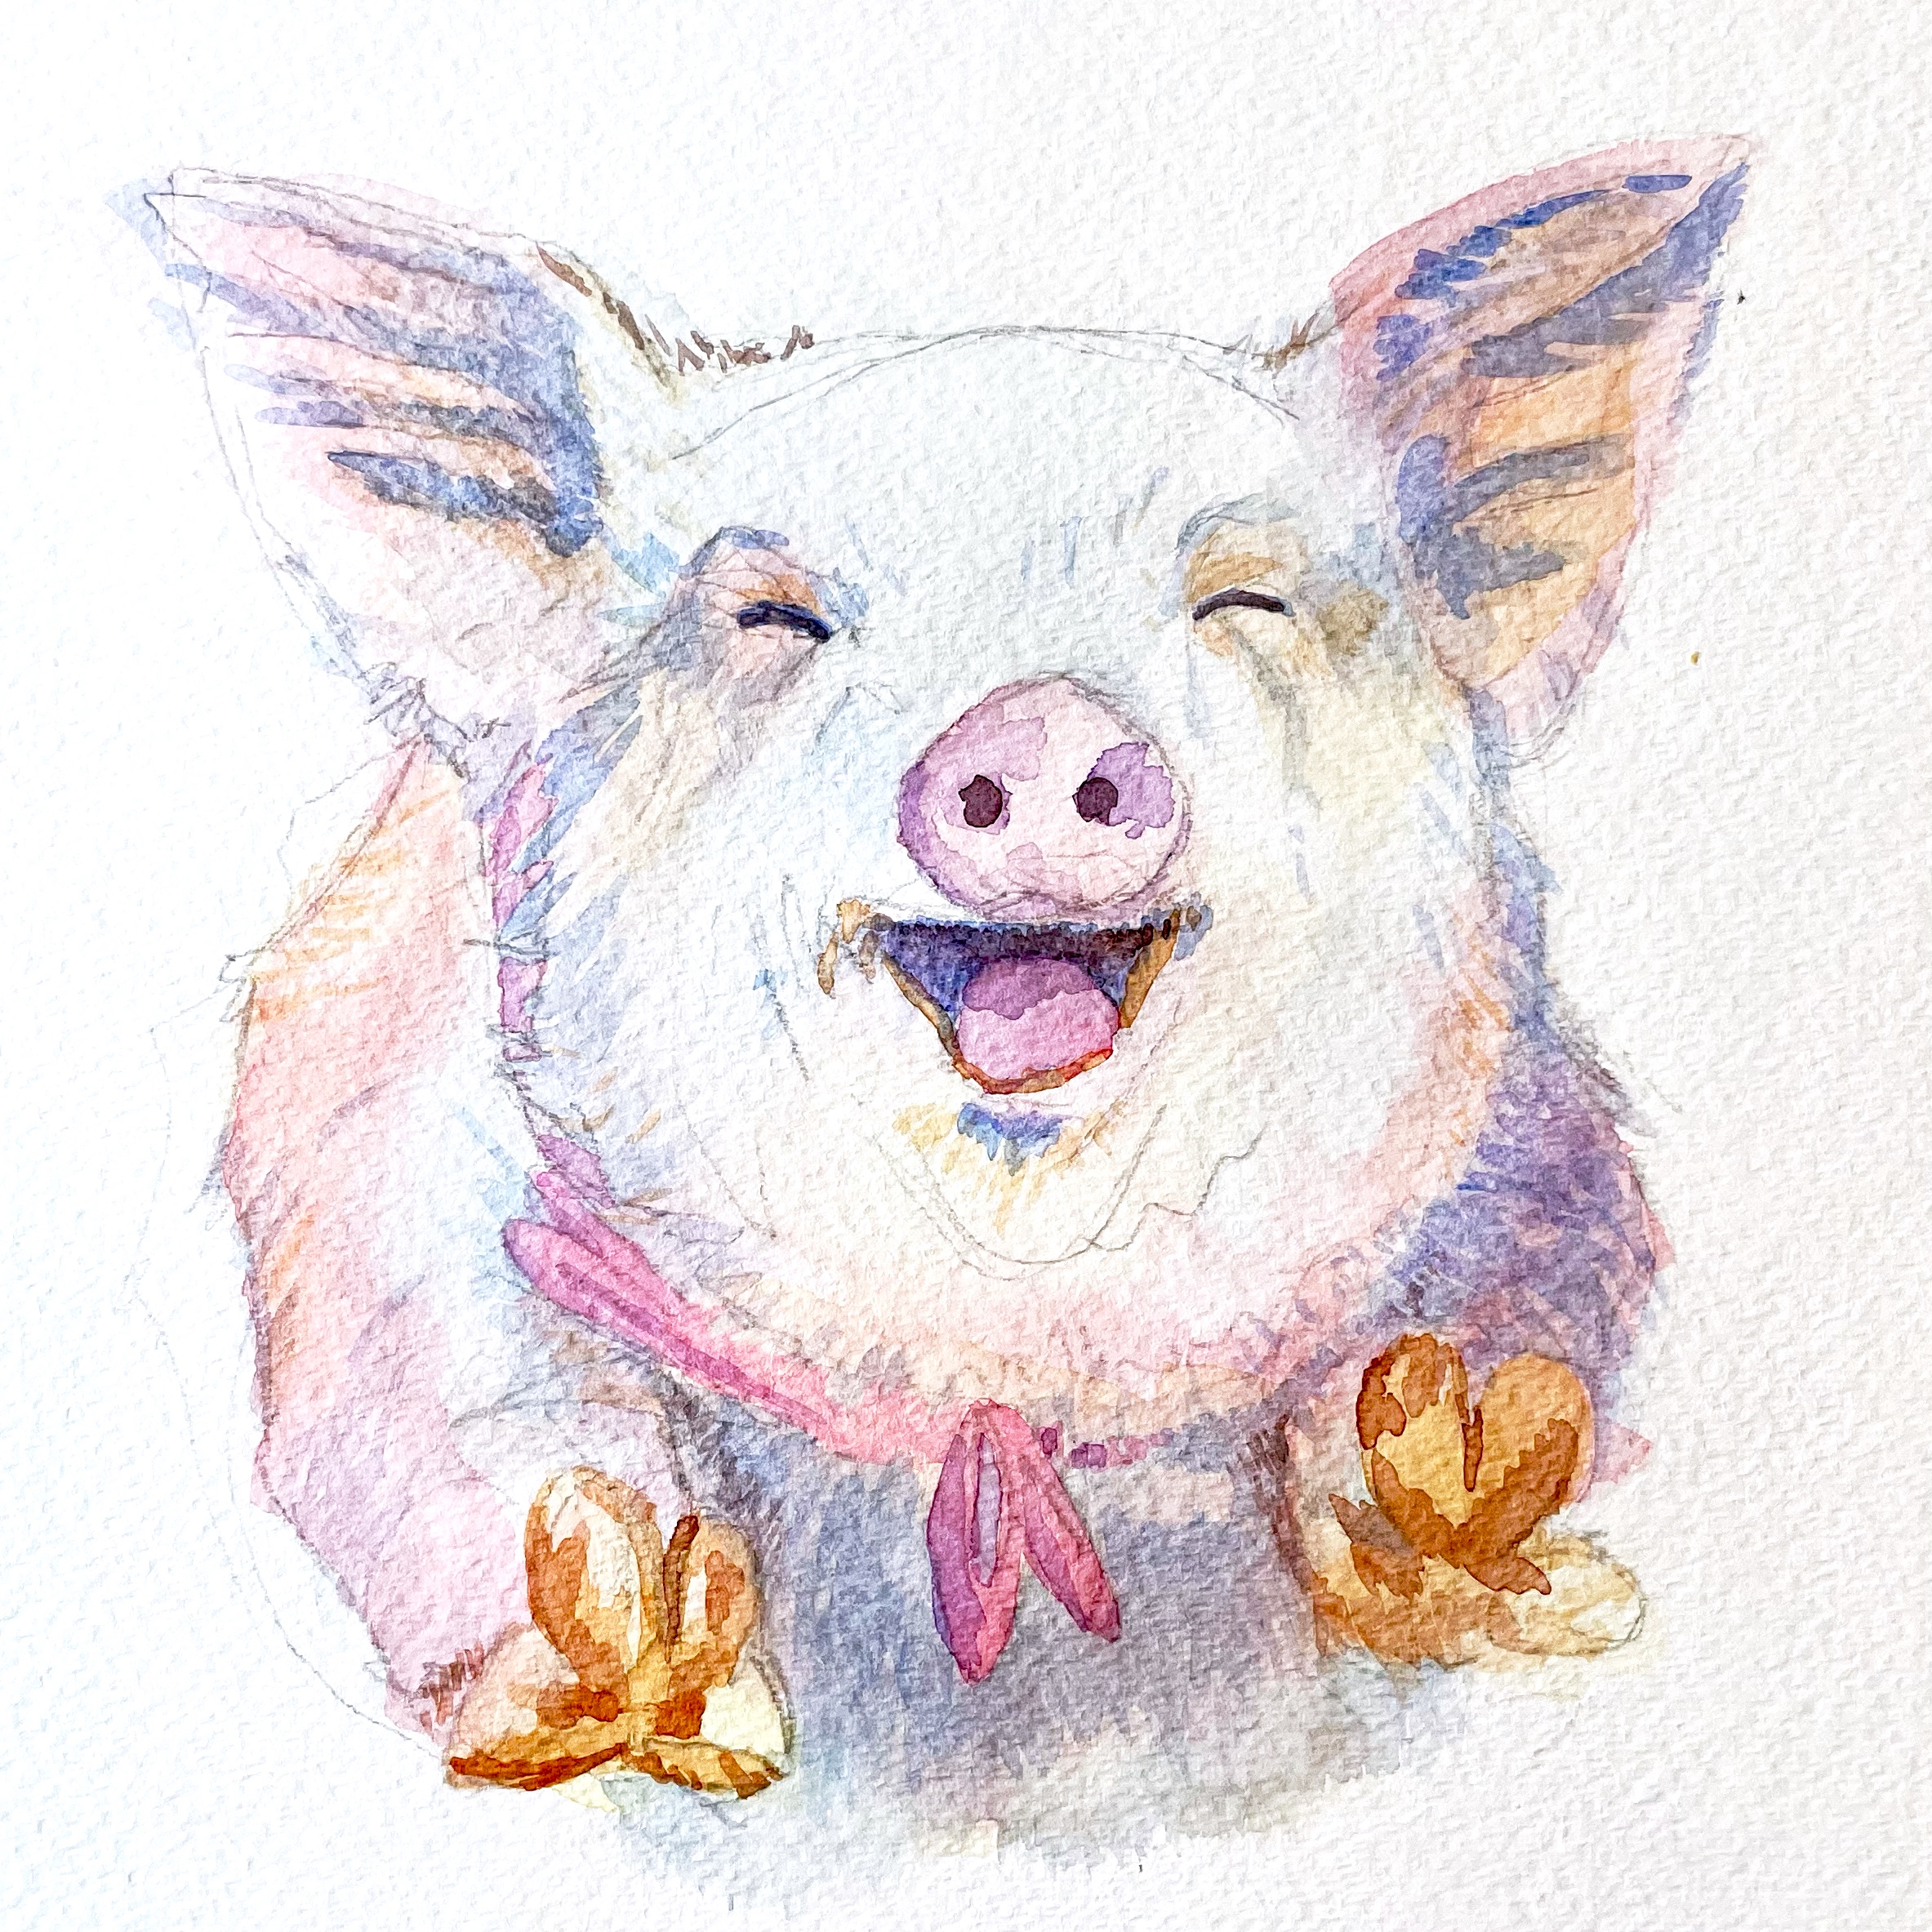
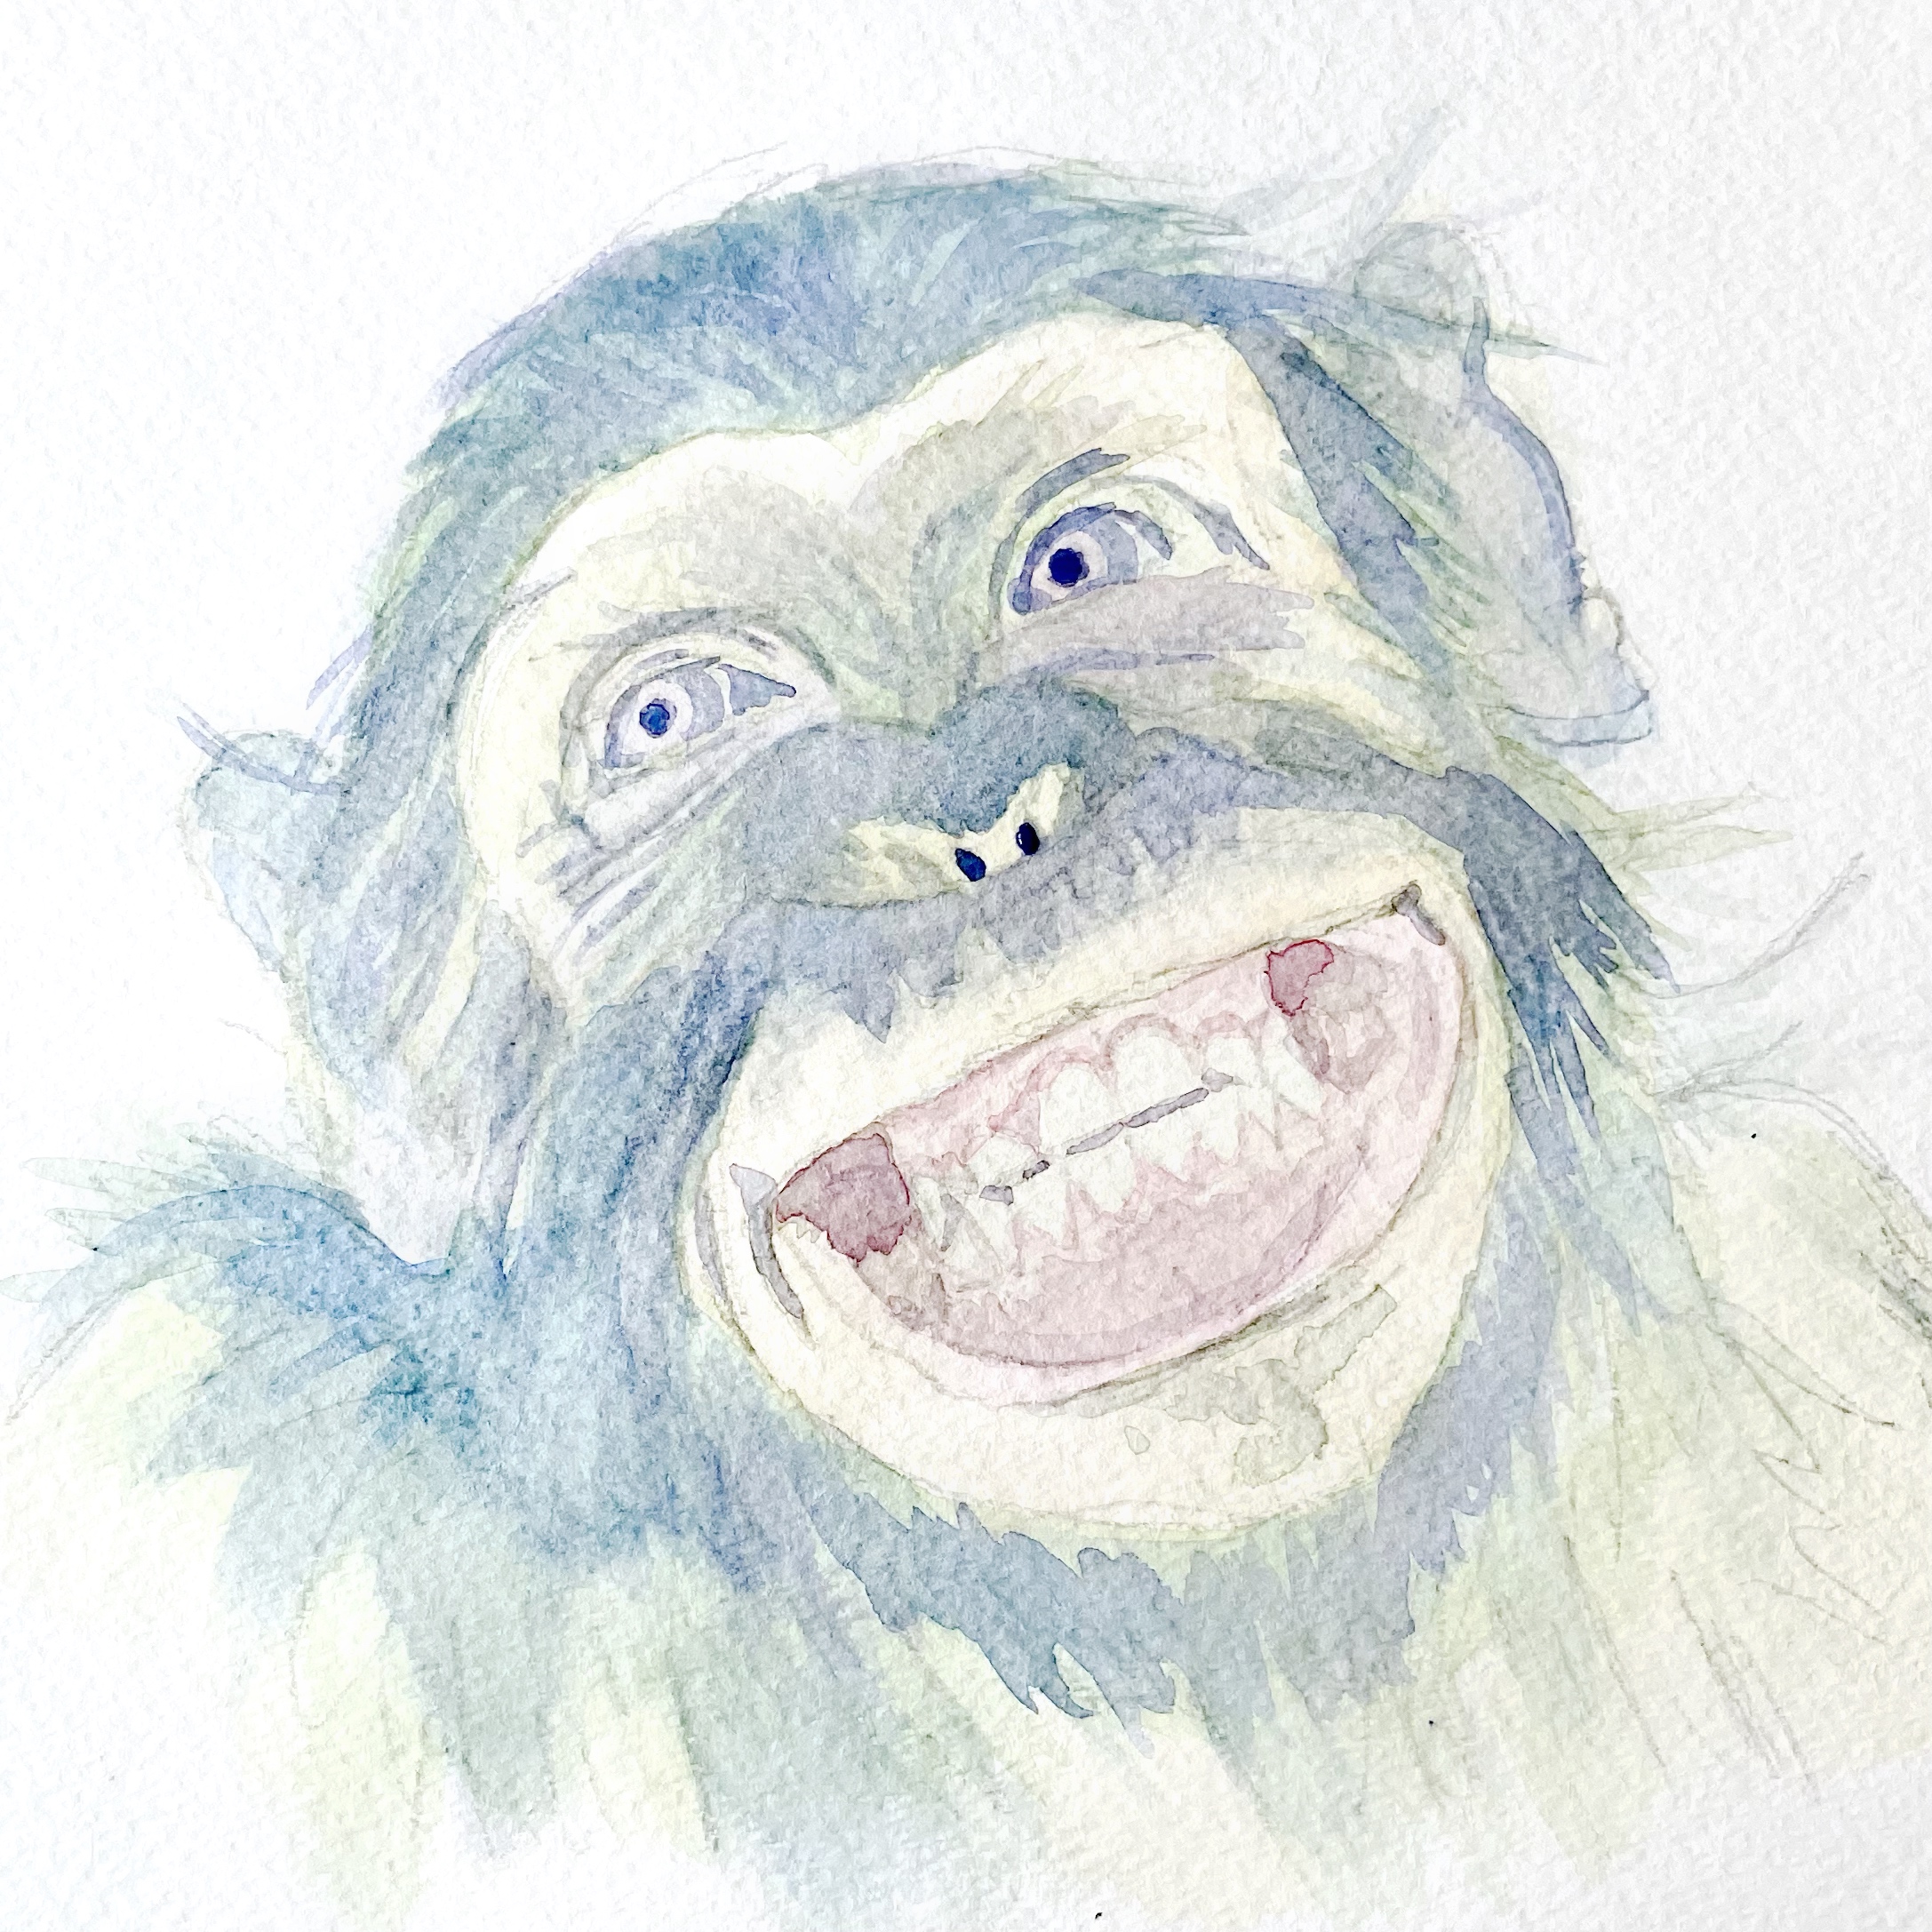
Final Pieces
Even only after a few pieces, I could look back and realize how I could have done better. It’s like PDSA cycles (that we learn in health care) but for art.

Leave a Reply